
Most homeowners can agree that dealing with water damage can be an arduous process. If your walls have absorbed excessive moisture due to a flood or leak, it’s vital to act swiftly to prevent mold growth and structural damage. This guide will help you understand the effective steps you can take to dry out your walls, protecting your home and your health. By following these methods, you not only restore your living space but also ensure a safer environment for you and your loved ones.
Quick action key points:
- Immediate Action: Start the drying process within 24 to 48 hours to prevent mold growth and further damage.
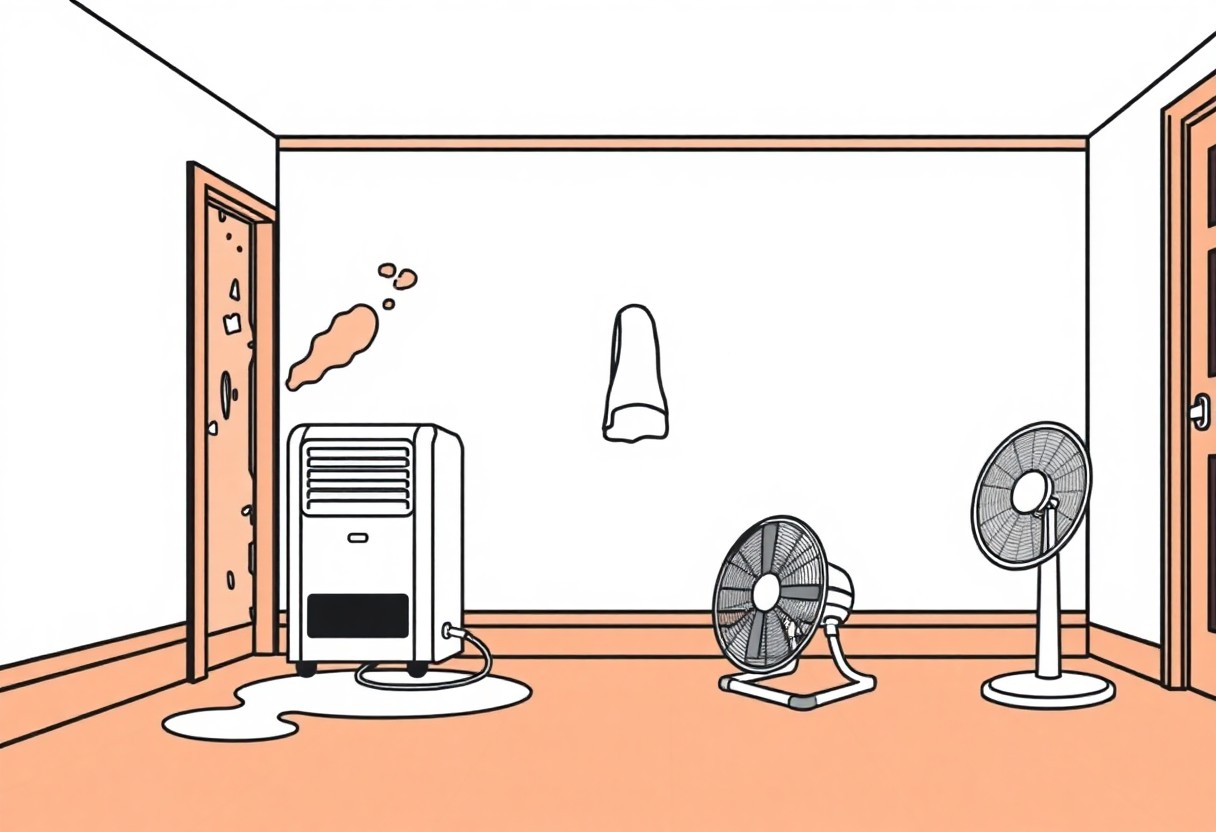
- Tools and Techniques: Utilize dehumidifiers, fans, and wet/dry vacuums to effectively remove moisture from walls.
- Professional Help: Consider hiring water damage restoration professionals for severe cases to ensure complete moisture removal and safety.
Understanding the Causes of Moisture in Walls
To effectively address moisture issues in your walls, it’s necessary to understand the underlying causes. Often, these moisture problems stem from external sources such as heavy rainfall, plumbing leaks, or poor drainage. By pinpointing the reasons why your walls may be absorbing water, you can take appropriate measures to rectify the situation and prevent further damage. In many cases, the causes can be traced back to either natural events or human activities, which you must identify to devise the best action plan for remediation.
Identifying Sources of Water Damage
There’s a multitude of potential issues that could lead to moisture in your walls. Start by carefully inspecting your home for any visible signs of water damage, such as stains, discoloration, or mold growth. Additionally, check your plumbing for leaks and ensure your gutters and downspouts are directing water away from your house’s foundation. If you’ve experienced flooding or a plumbing issue recently, that could also be the culprit. Address these issues promptly to minimize the risk of long-term damage.
Factors Contributing to Wall Moisture
Another aspect to consider is the various factors that can contribute to wall moisture. Common issues include inadequate ventilation, rising damp, and structural problems within your home. Understanding these factors can help you better assess your situation and develop a comprehensive plan to eliminate excess moisture. By addressing the root causes, you will not only resolve the immediate moisture issue but also protect your walls from future damage. Here are some key factors that might be affecting your walls:
- Poor ventilation leading to trapped humidity
- Rising damp due to inadequate damp-proofing measures
- Water leaks from broken pipes or faulty appliances
- Condensation on cold surfaces caused by temperature differences
An necessary step in managing moisture is to conduct regular inspections and maintenance. Look for any changes in your home that might lead to new sources of water damage. This proactive approach can help you catch potential problems before they escalate into bigger issues that require costly repairs. Furthermore, thorough inspections will help you understand the unique conditions of your environment and how they affect your home. Pay attention to factors such as humidity levels, weather patterns, and even landscaping that could affect water drainage. By staying vigilant, you’ll keep your home safe and secure from moisture-related issues.
- Regular inspections to detect early signs of moisture
- Maintaining proper drainage around your foundation
- Controlling humidity levels using dehumidifiers or ventilation
- Addressing leaks promptly to prevent expansion
The proactive management of water sources and addressing unique home conditions can significantly enhance your success in maintaining dryness and structural integrity.
How to Assess the Extent of Moisture Damage
Clearly, assessing the extent of moisture damage following a flood or water leak is important for effective remediation. Before you can start the drying process, you’ll need to evaluate the affected areas thoroughly. This assessment will help you identify which sections of your walls, floors, and other surfaces have been compromised and will guide you on the necessary steps to take for repairs. Ignoring areas of damage could lead to mold growth, which can pose significant health risks to you and your family. Identifying the source of the moisture is equally important; if the leak has not been resolved, any efforts to dry out your walls could be in vain.
Tools for Detection
Moisture detection requires specific tools that will allow you to accurately gauge the level of humidity within your walls. Moisture meters are particularly effective, as they can measure the moisture content in various materials, providing you with a direct indication of how wet your walls are. Additionally, infrared cameras can be instrumental since they help visualize areas of heat loss, which often correlate with more damp spaces where moisture could be trapped. By utilizing these tools, you ensure that no hidden pockets of moisture are overlooked, which can lead to greater issues later on.
Signs of Moisture in Walls
Damage to your walls may manifest in several visible ways that point to moisture infiltration. Look out for peeling paint or wallpaper, as these are often the first signs indicating excessive moisture. Additionally, discoloration and staining around the affected area are also indicative of sludge forming beneath the surface. In some cases, you may even notice a slight warping or bowing of the wall—this is a strong indicator that your walls are experiencing significant moisture issues and require immediate action to mitigate any potential health hazards.
Moisture that seeps into walls can not only affect the structure but can also lead to the development of mold and mildew, which thrive in damp environments. These fungi can pose health risks, particularly to individuals with respiratory issues or compromised immune systems. It is important to act swiftly—if you notice any of these signs, it’s advisable to address the issue promptly, not only to improve the comfort of your home but also to protect the health of your family.
Effective Techniques for Removing Moisture
Keep in mind that removing moisture from walls after a flood or water leak is necessary to prevent mold growth and structural damage. You have several effective techniques at your disposal to tackle this issue. One of the most reliable methods is the use of dehumidifiers, which are designed to extract excess moisture from the air. When selecting a dehumidifier, ensure it is appropriately sized for the area and capable of handling the volume of moisture present. Place it in the affected area to help speed up the drying process, and periodically check the water reservoir to prevent overflow.
Dehumidification Methods
The combination of high-efficiency dehumidifiers with air circulation can significantly reduce the moisture levels in your walls. You might also consider using heat sources, like portable heaters, to increase the ambient temperature—this aids in evaporating water. Aim to maintain indoor humidity levels below 50% to inhibit mold growth and foster a healthier living environment. Regularly monitor humidity levels with a moisture meter to gauge the effectiveness of your dehumidification efforts.
Utilizing Fans and Ventilation
Removing moisture from walls effectively also involves proper air circulation. Use fans to promote airflow and ensure that you are directing the air towards the damp areas of your walls. This will help dry them out more quickly, as moving air can carry moisture away. For better results, open windows and doors to create a cross-breeze, allowing fresh air to replace the damp, stale air within your home.
Ventilation plays an necessary role in moisture removal. By increasing air circulation through the use of fans and natural airflow, you enhance the drying process and help prevent potential issues such as mold and mildew. Ensure that all air vents are unobstructed and, if necessary, utilize exhaust fans in humid areas like kitchens and bathrooms to further reduce moisture. This method not only contributes to the drying process but also creates a healthier indoor environment for you and your family.
Tips for Drying Walls Properly
All homeowners should act swiftly to prevent additional damage when dealing with moisture problems in walls following a flood or water leak. Here are some effective tips to ensure your walls dry properly:
- Remove affected wall coverings, such as paint or wallpaper, to allow for better airflow.
- Use fans to circulate air and speed up the drying process.
- Consider using a dehumidifier to pull excess moisture from the air.
- Keep windows and doors open to promote ventilation if weather permits.
- Monitor humidity levels using a hygrometer to ensure they remain low.
By implementing these methods, you can significantly reduce the risk of mold growth and structural damage. Recognizing the signs of moisture retention early will help you take action before it escalates into larger issues.
Choosing the Right Materials
Tips for selecting the right materials for your walls post-flood can make a world of difference in how well your walls recover. Opt for materials that are resistant to mold and mildew, such as water-resistant drywall or cement board. These materials are designed to withstand basic moisture exposure, reducing your chances of future water-related problems. Additionally, using a high-quality mold-resistant primer on the walls before repainting can further safeguard against potential mold growth.
It’s also beneficial to invest in insulating materials that are specifically designed for moisture-prone areas. Utilizing such materials not only helps in moisture management but also enhances the durability of your walls. Ultimately, selecting the right materials contributes to maintaining a healthier environment in your home.
DIY vs. Professional Help
On the surface, taking a DIY approach to drying your walls may seem like an appealing option, especially if you’re looking to save money. You can undertake many of the initial steps, such as removing wet materials and setting up fans or dehumidifiers, effectively. However, understanding when to call in a professional is necessary. If dampness persists or is extensive, you may be at risk of hidden mold growth or structural damage that requires specialized equipment and expertise.
Professional restoration services bring valuable experience and advanced tools to the table, making them capable of addressing severe water damage effectively. They can identify the extent of the water damage that may be invisible to you, take the necessary preventative measures, and ensure that your home is restored safely and promptly. Moreover, they are trained to handle potentially dangerous situations, such as electrical issues stemming from water exposure. Making the right choice in these cases will not only save you time but could also minimize health risks.
Preventing Future Moisture Problems
Many homeowners underestimate the importance of taking steps to prevent future moisture issues after experiencing a flood or water leak. Proper maintenance practices can save you from the headaches associated with water damage down the line. Regularly inspect your plumbing systems for leaks, and ensure that your roof, gutters, and downspouts are in good condition to divert water away from your home. Keeping your yard graded properly will also aid in ensuring water flows away from your foundation, reducing the risk of moisture seeping into your basement or lower levels.
Maintenance Practices
Some effective maintenance practices can significantly reduce the chances of encountering moisture problems in the future. Conduct seasonal checks of your home’s exterior to identify potential vulnerabilities, such as cracks in the foundation, gaps around windows or doors, and peeling paint. Additionally, at least once a year, clean your gutters and downspouts to prevent blockages that can lead to overflow and water pooling around your property, which can result in hazardous moisture buildup.
Waterproofing Measures
You can also implement various waterproofing measures to ensure that your home stands strong against moisture intrusion. Consider applying a waterproof sealant to your basement walls and floors to create a barrier against water seepage. Installing a sump pump in your basement can effectively manage excess water during heavy rains, while the use of dehumidifiers in high-humidity areas will help maintain optimal indoor air quality. Additionally, sealing cracks and gaps with waterproof caulk or foam can prevent moisture from entering your home.
Moisture issues can lead to serious health hazards, such as mold growth and structural damage, which is why it’s imperative to take waterproofing measures seriously. Evaluate your home for places where dampness could enter and address them promptly. Ensure that any joints, penetrations, or cracks are sealed correctly to create an effective barrier against water. By investing time and resources into these measures, you protect your home and promote a safer environment for you and your family.
Final Words
As a reminder, removing moisture from your walls after a flood or water leak involves a proactive and thorough approach. Start by assessing the extent of the damage and identifying the source of the moisture. Utilize dehumidifiers and fans to promote airflow and expedite the drying process. It’s vital to check for hidden pockets of water, particularly behind drywall and within insulation, as these can easily lead to mold growth if left unattended. You should also clean any affected areas with appropriate solutions to prevent bacterial growth and ensure your environment remains safe.
Additionally, once you have successfully dried your walls, consider applying a water-resistant sealant or paint to protect against future moisture issues. Ongoing maintenance, such as regularly checking for leaks and maintaining proper drainage around your home, will also help avoid similar situations. By taking these steps, you create a healthier living space and safeguard your home from the consequences of water damage. Your diligence will be key in preventing potential complications that can arise from moisture retention, including mold growth and structural damage.
FAQ
Q: What steps should I take immediately after discovering moisture on my walls due to a flood or water leak?
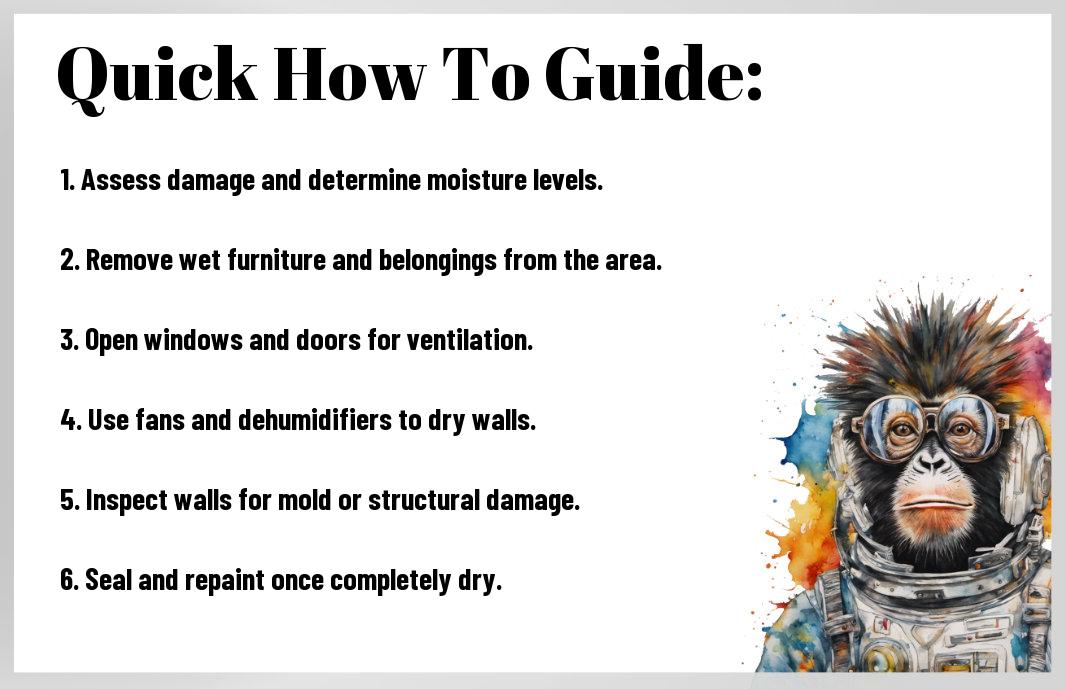
A: The first step is to ensure safety; turn off electricity in the affected areas to prevent electrical hazards. Next, remove any furniture or valuables from the impacted area to avoid water damage. If possible, identify and stop the source of the water leak. Use towels or a wet vacuum to soak up as much water as possible. Open windows and doors for ventilation, and consider using fans or dehumidifiers to improve air circulation and speed up the drying process. If the moisture is extensive, it’s advisable to consult with professionals for proper assessment and remediation.
Q: How can I effectively dry out my walls after addressing the source of the moisture?
A: After addressing the source of the leak, use fans and dehumidifiers strategically around the affected area to promote effective drying. You can also consider removing baseboards or wall coverings to allow air circulation behind the walls. If the drywall is saturated, it may need to be cut out and replaced to prevent mold growth. A moisture meter can be helpful in assessing the drying progress, ensuring all damp areas are adequately dried out before proceeding with repairs.
Q: How do I prevent mold growth after drying my walls?
A: To prevent mold growth, it’s crucial to keep the affected areas dry and well-ventilated. Regularly monitor humidity levels using a hygrometer; ideally, indoor humidity should be below 60%. If necessary, continue to use dehumidifiers until the area is fully dry. Clean any surfaces that came into contact with water using a mixture of water and detergent, and consider applying a mold-resistant paint once everything is dry and repaired. If you notice any signs of mold, it’s advisable to seek professional assistance to handle the issue properly.